Exploring the design space
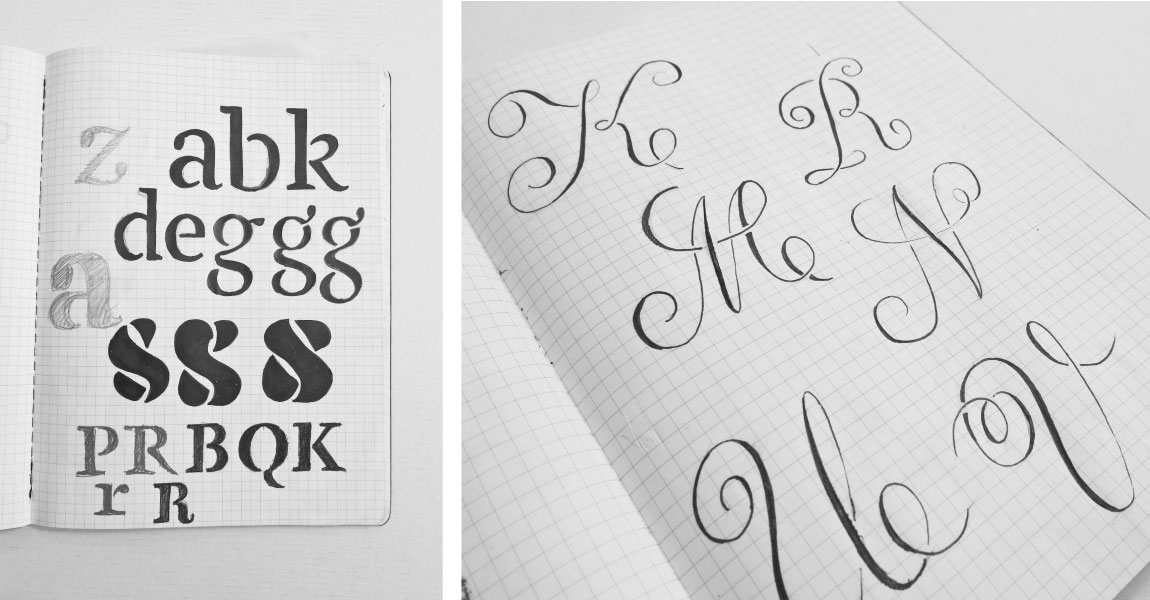
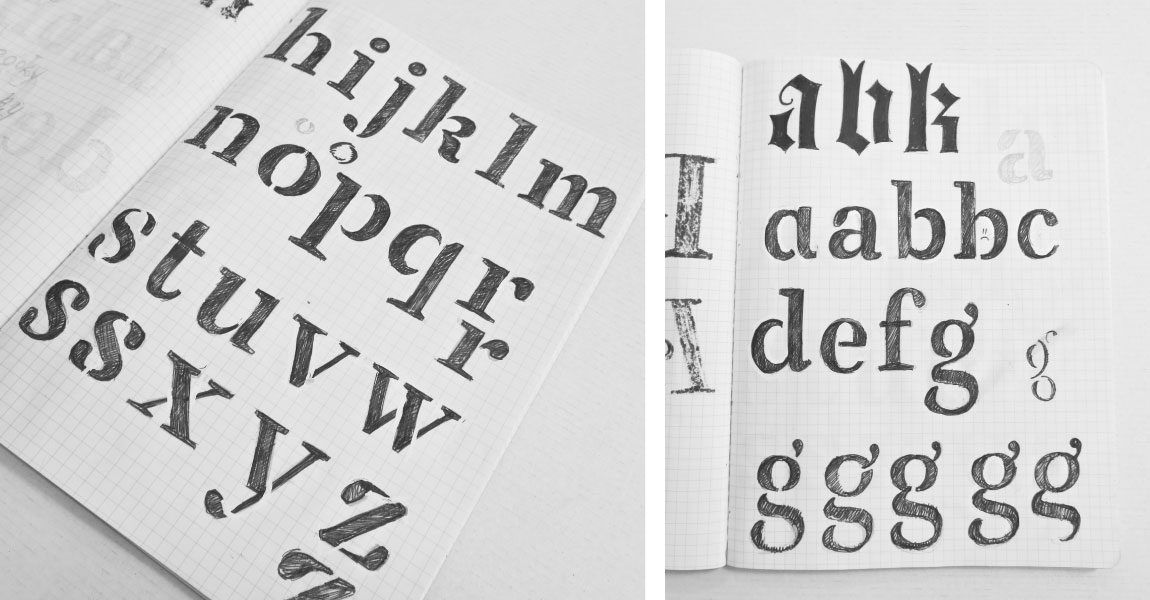
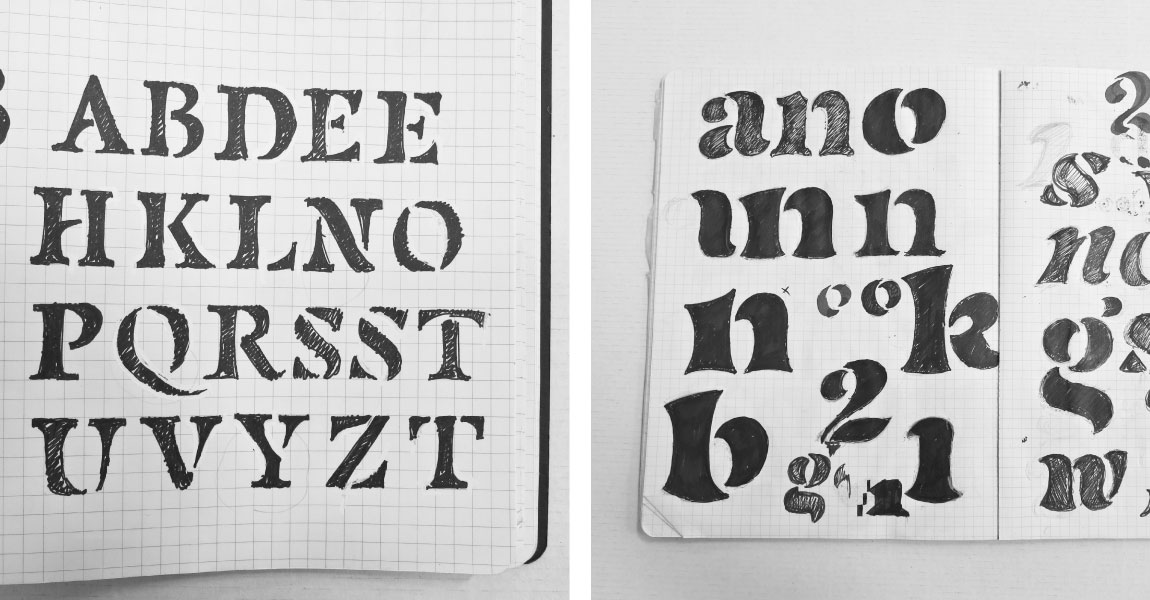
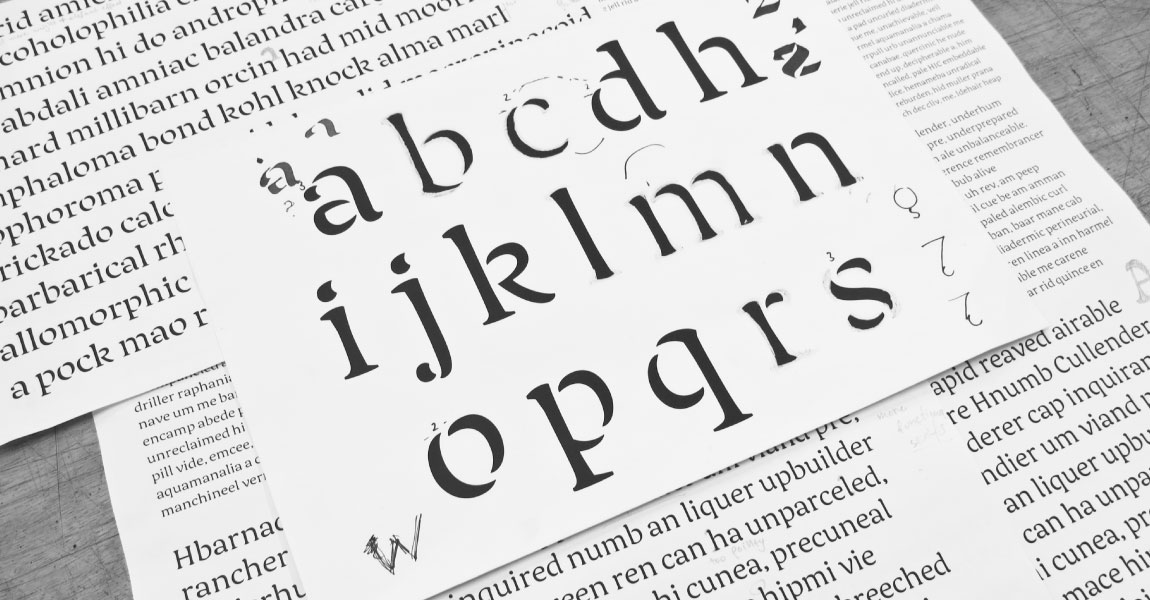
Here are some examples of the sketches I made while exploring the different directions that the project could go to. I tried focusing on script as the thin lines worked well with the stencil breaks(1) but I could not see it developing as a family. For quite a long time, I was focusing on a pointed nib contrast. By quickly sketching the whole alphabet,(2) I realised that it would not be interesting for me to work on as I was getting very banal results. When I started sketching with broad nib contrast, I immediately got more interesting results.(3) Getting the breaks right with the broad nib was a big puzzle and I decided that it would be an exciting puzzle to solve.
(1) Trying out various constructions including an attempt in script stencil. Although I liked the way the thin script looked, I didn’t see it developing as a family.
(2) A sketch of the whole lowercase made me realise that it may not be so exciting to work with pointed nib contrast, so I continued experimenting.
(3) When I started investigating a broad nib contrast and also different weights, I felt like I was in the right direction.
Concept
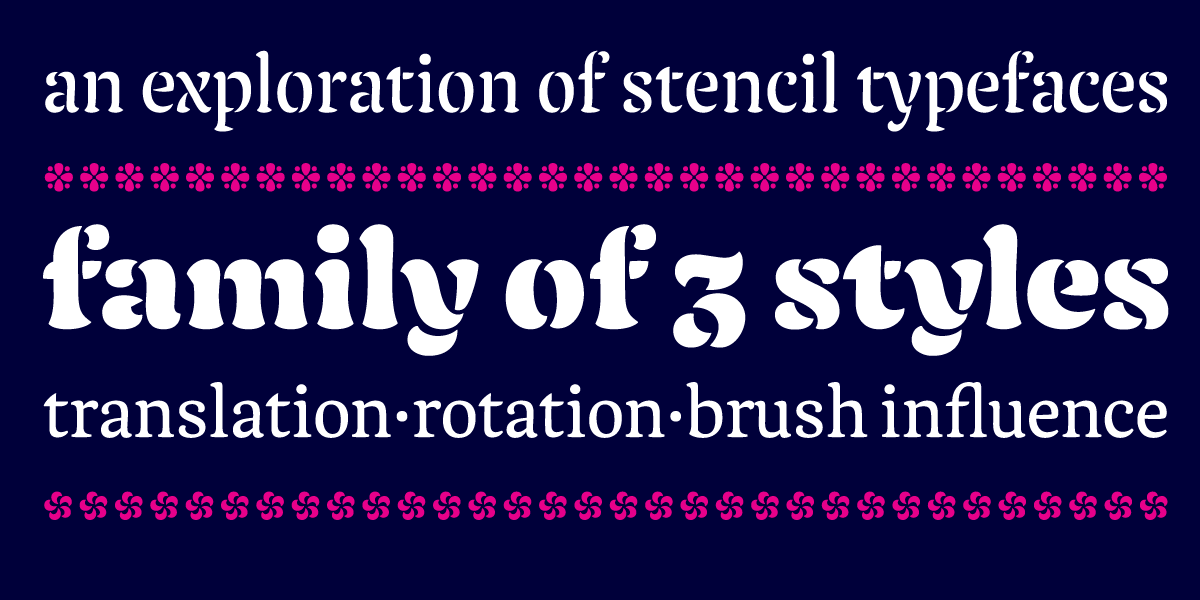
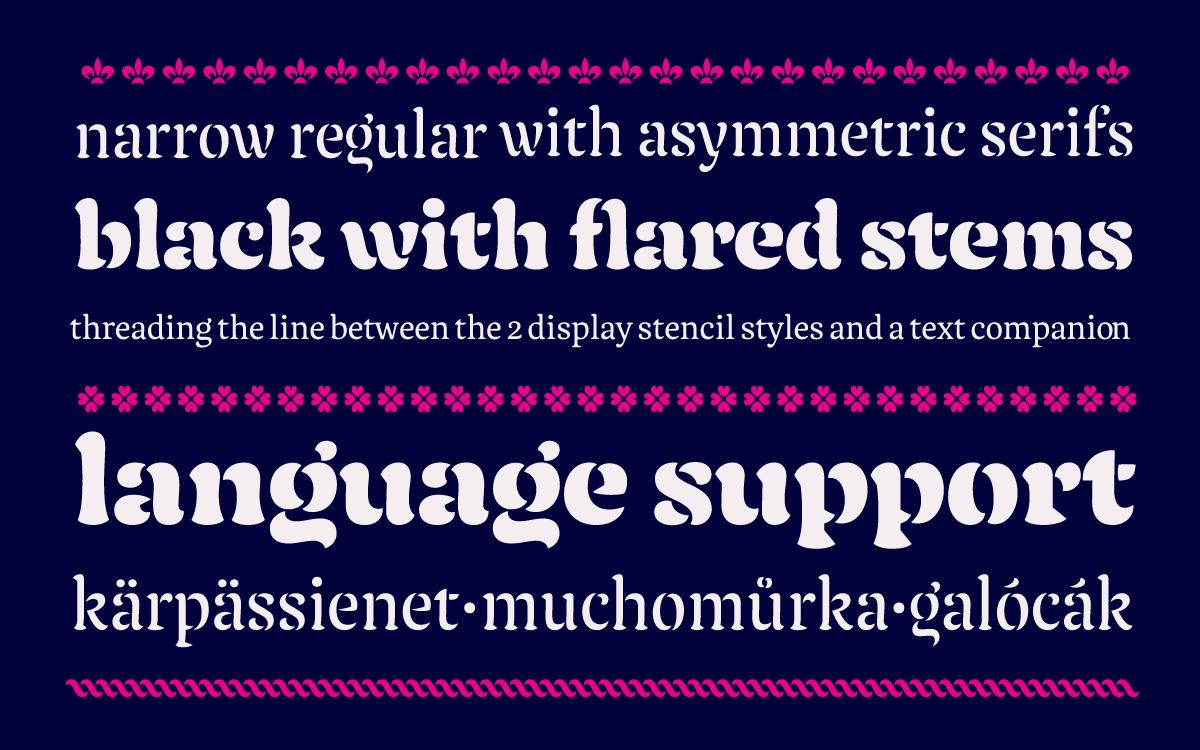
Stencil typefaces quite often follow a similar aesthetic, which is rough, repetitive, modular. This is why stencil type is generally associated with lettering on industrial containers, wooden crates, street numbers and signage, used as a commodity, rather than for its aesthetic value. But what happens if instead of adding breaks to an existing typeface, the idea of a stencil is used as a starting point? What if the repetitive modular aesthetic is replaced by a calligraphic approach? How are aspects of the design, such as proportion, counter size, shape, stems and contrast influenced by the demands of a stencil? This is the idea behind this family of stencil typefaces.
Focusing on a broad nib contrast provided me with the opportunity to be more versatile in terms of positioning the cuts of the lettershapes. Using the tool with the concept in mind, helped me a lot in developing the look of my typeface. I started constructing the stencil letters out of the different strokes used to write them. I experimented with translation in combination with rotation(4) which helped me achieve the balance in the overall amount of breaks in the letters.
(4) I spend some more time doing broad nib calligraphy. Using the tool with the concept in mind, helped me a lot in developing the look of my typeface.
Sketching, sketching, sketching
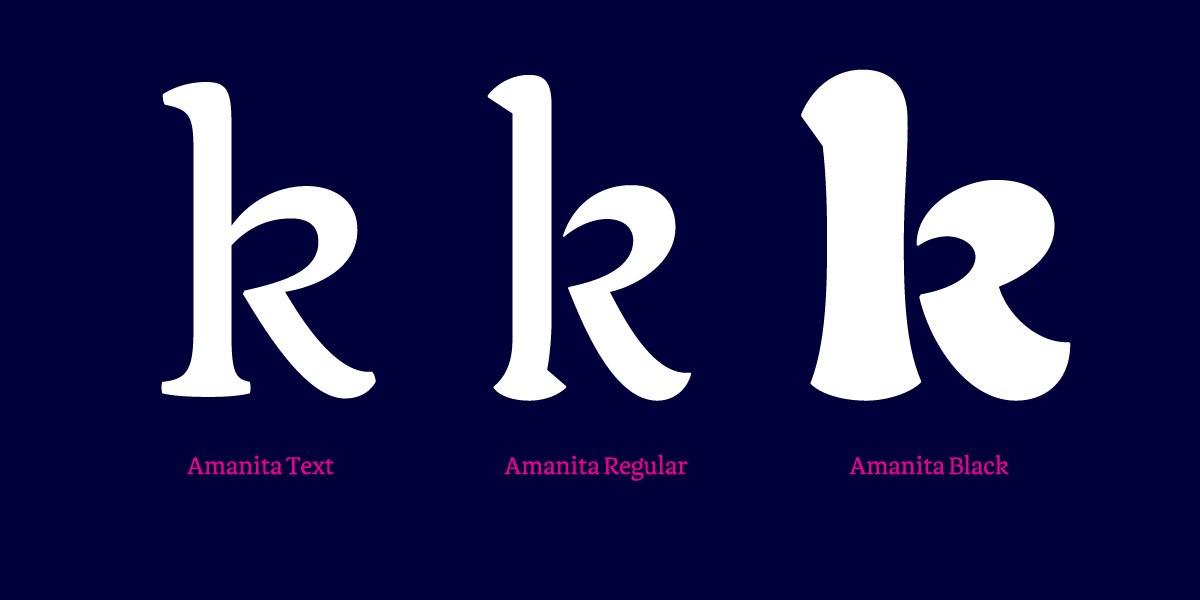
My initial sketches showed that there were many stylistic possibilities for the regular style, but every time I was trying to apply the same solutions to the bold version, they were not working. This is why I decided to start developing the bold style first.
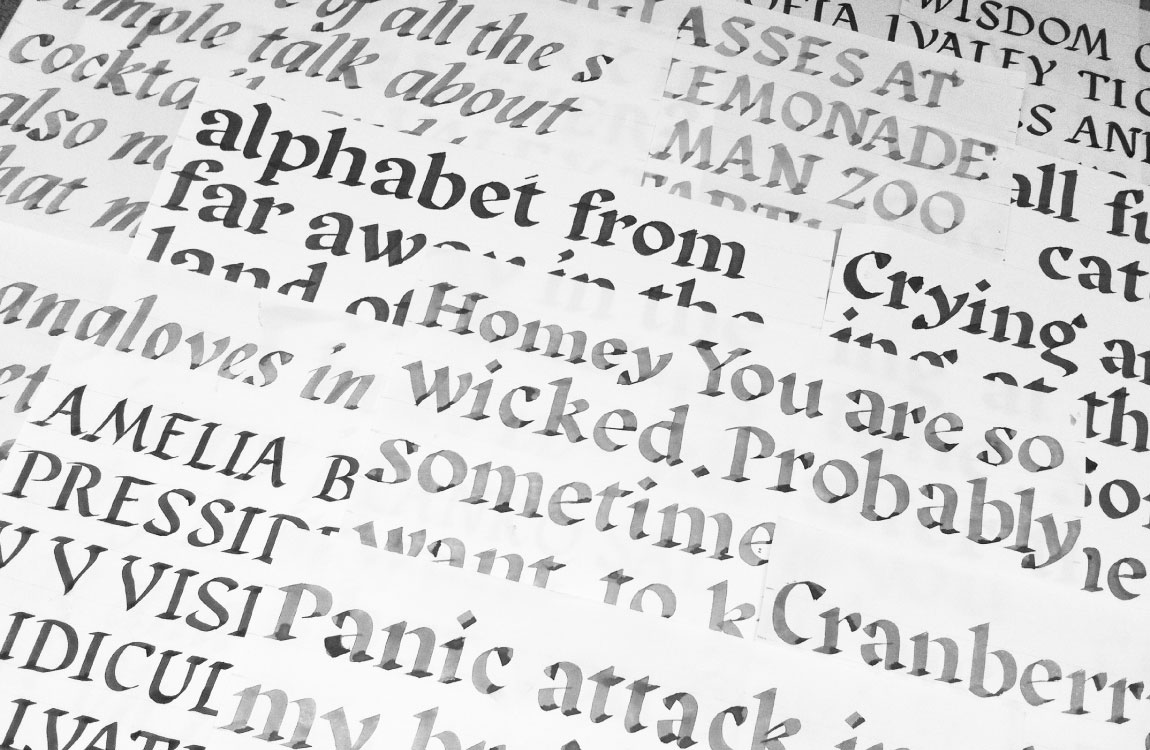
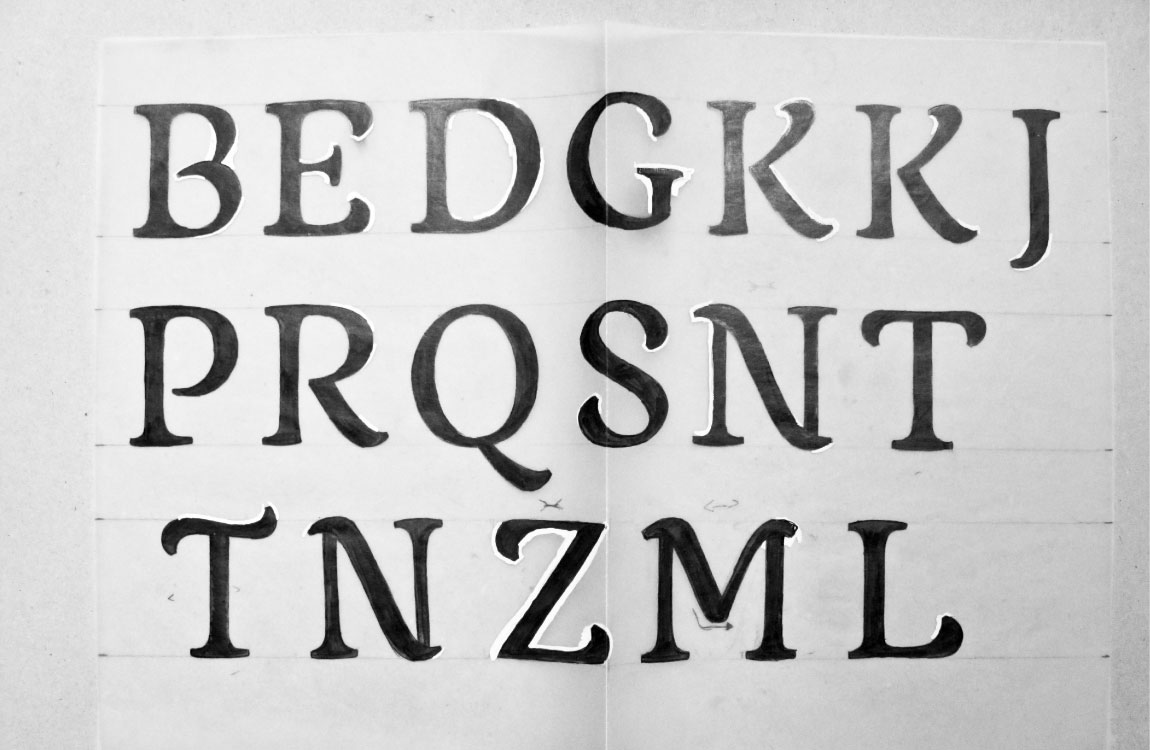
During the first term I realised that I get much better results much faster when I am sketching, instead of when I am trying to make corrections on the computer. This is why the next step after finalising my idea and sketching on a small scale in my notebooks, was to start sketching on a bigger scale, in the same way that in the first term I was sketching for TypeCooker.(5)
The black style developed through sketching many different versions, scanning the drawings, scaling up and down, making corrections, redrawing. Then repeating the process over and over again. There were times when I thought that finding a solution was impossible. In these cases I would go back to using the broad nib pen as a tool to quickly find out how the shapes should look like at their simplest form.
Drawing on a big scale was the best way for me to progress in this project. As I was not comfortable with my digitisation skills, the best way was to make the drawings as precise as possible. Even before staring digitally, I would sometimes simply scan the letters that I have drawn and put them together in different word combinations to see if my ideas were working or not. This way I had a stronger basis for my design before I started working on the computer.
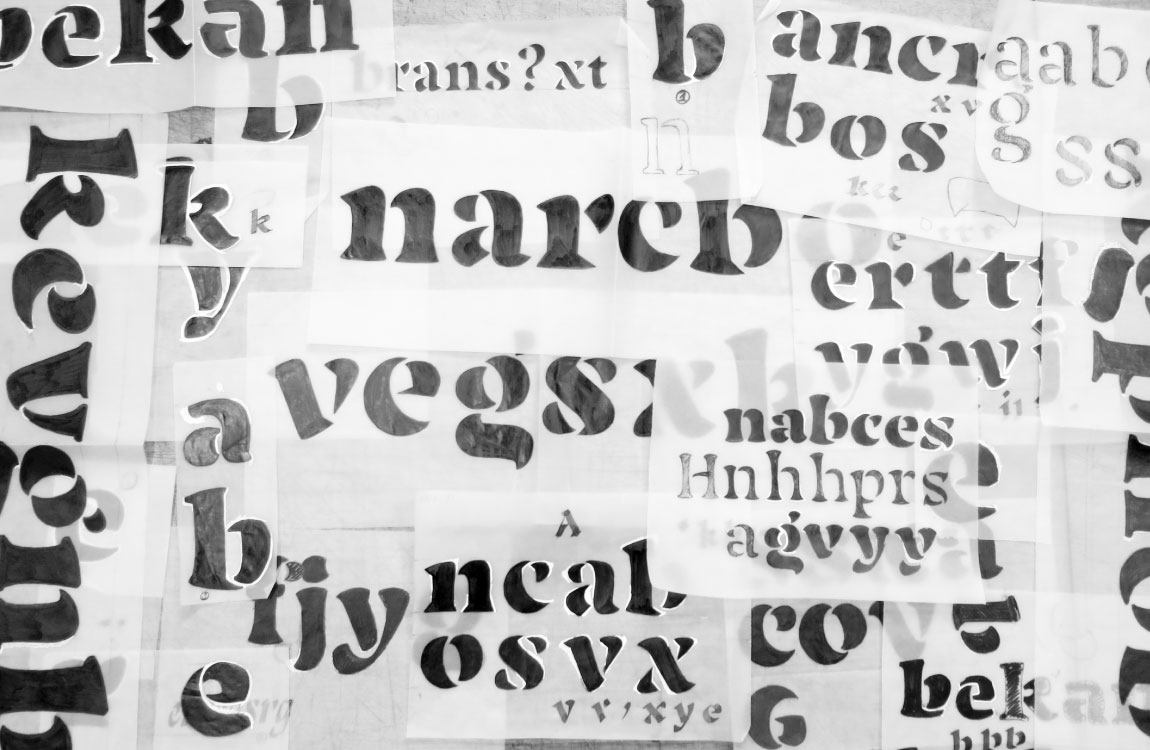
(5) A visual brainstorm of all the ideas that I had in terms of the design of the bridges needed for the stencil. Sketching was the best way to progress with the project, by testing as many different versions as possible.
Development
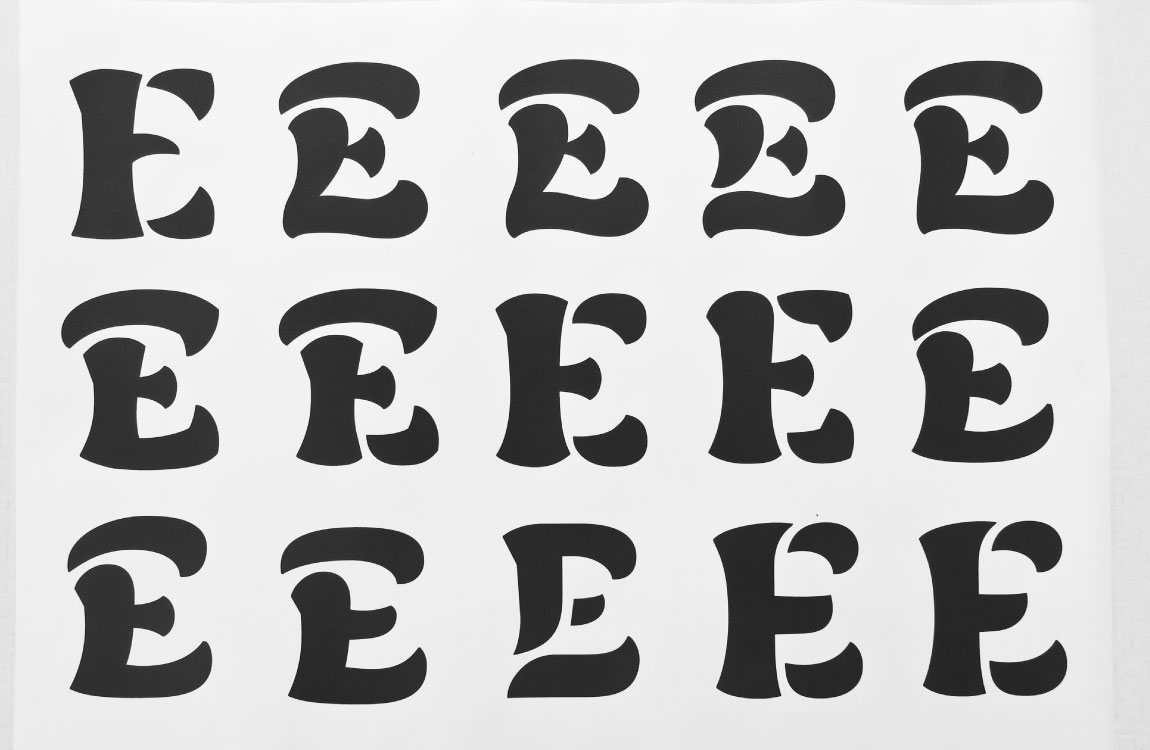
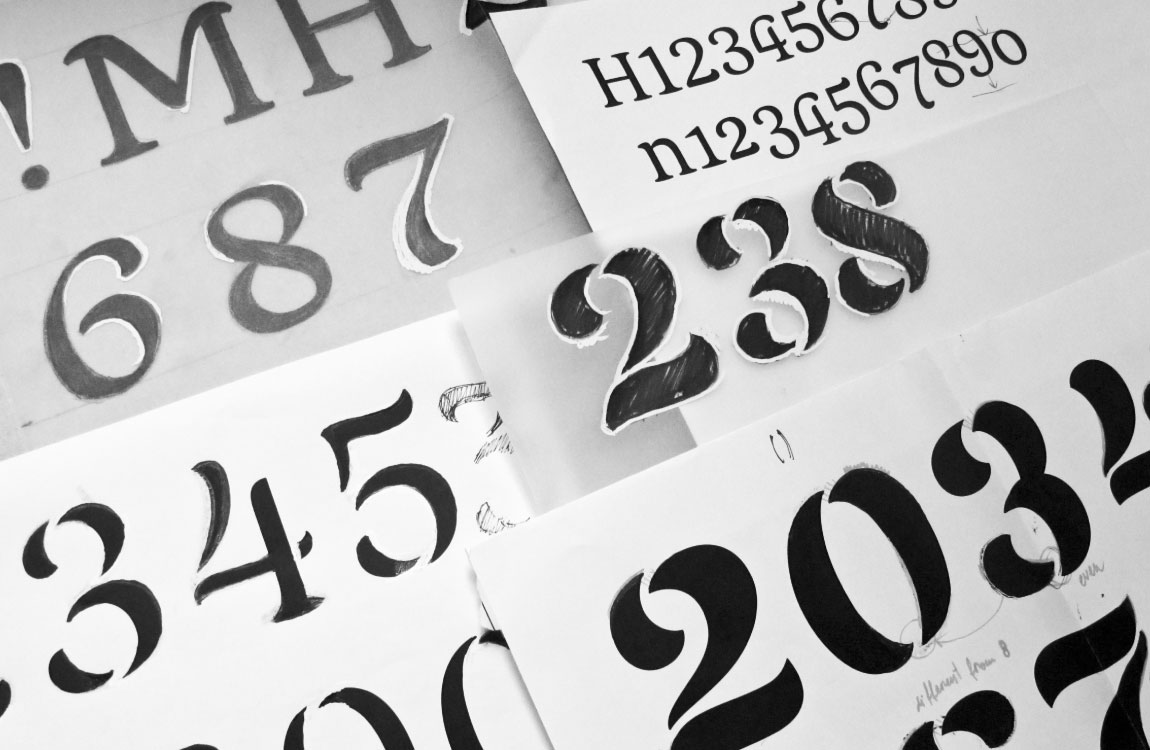
There were several aspects of the design that had to be taken into consideration in this project. Firstly, it was important to figure out where to position the cuts in the letters and how many of them were necessary to create the right colour and rhythm. The main idea was to always make a cut at the end of a single stroke or where the thin part of a letter with contrast would be. Certain exceptions had to be made as some letters would have had too many gaps otherwise. It took drawing many different versions of each letter to find the right balance between all of them.(6) What I learned was that things don’t have to be the same to look the same. Sometimes completely different approach was needed for the benefit of the right rhythm within.
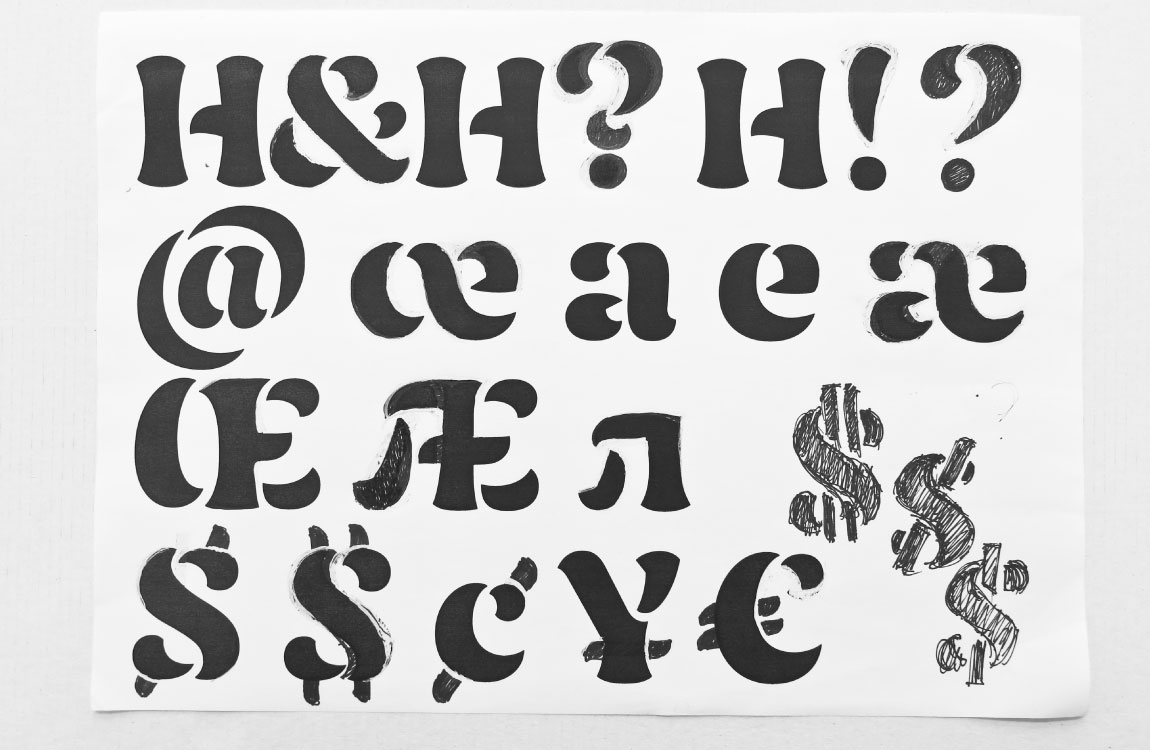
I started my first digitisation, which turned out a complete disaster. I was struggling to transform my sketches into nicely drawn glyphs. At the beginning it seemed like even when I was putting my drawings in the background, I was not trusting them and changing the shape. Slowly I realised that I should be more careful when drawing on the computer and they got better with time.(7)
(6) The best way to find a solution was to test as many different variations of each character
(7) As I continued working on all the and improving the look of the typeface, I developed a process of working with a combination of digitising, printing out, correcting, scanning, digitising again. This way I was getting to solutions quicker than when trying to correct them just digitally. And with time, my skills in all those methods improved and I was able to move on and work more effectively.
Simplifying the shapes
As I was filling in the character set, it started getting more difficult to find solution for certain shapes and I was starting to doubt wether the idea would work at all. I realised that it might not be the idea that was the problem, but the fact that it was impossible for me to look at the project from a different perspective. What helped me in these occasions was working on the whole family together. The text style was the one that required most simplification and that influenced how I looked at the shapes of the display styles.
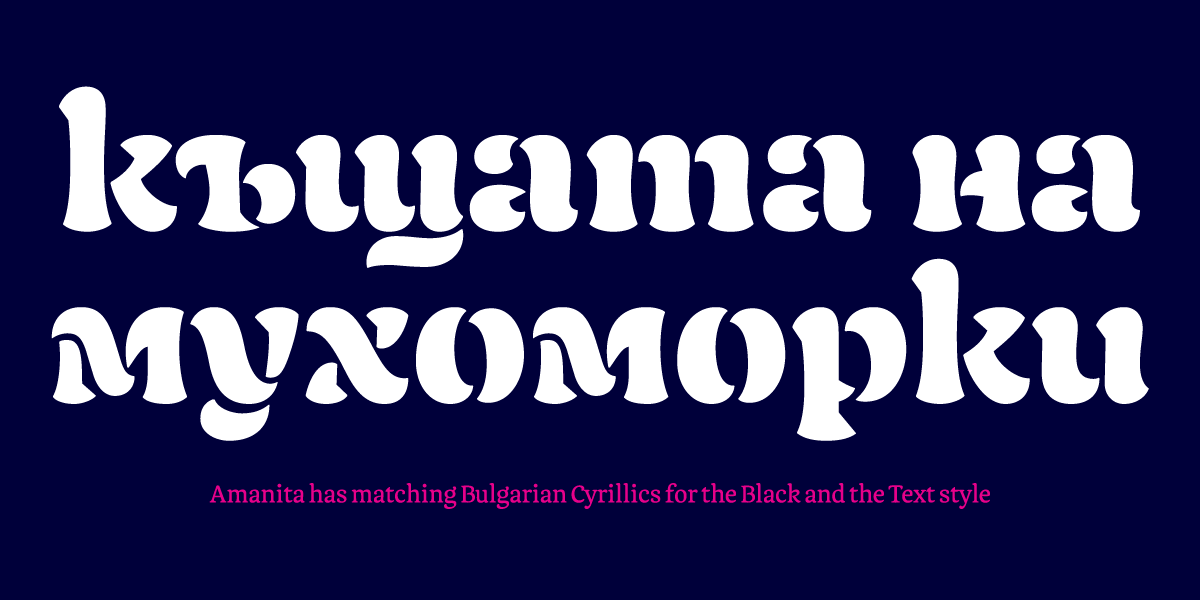
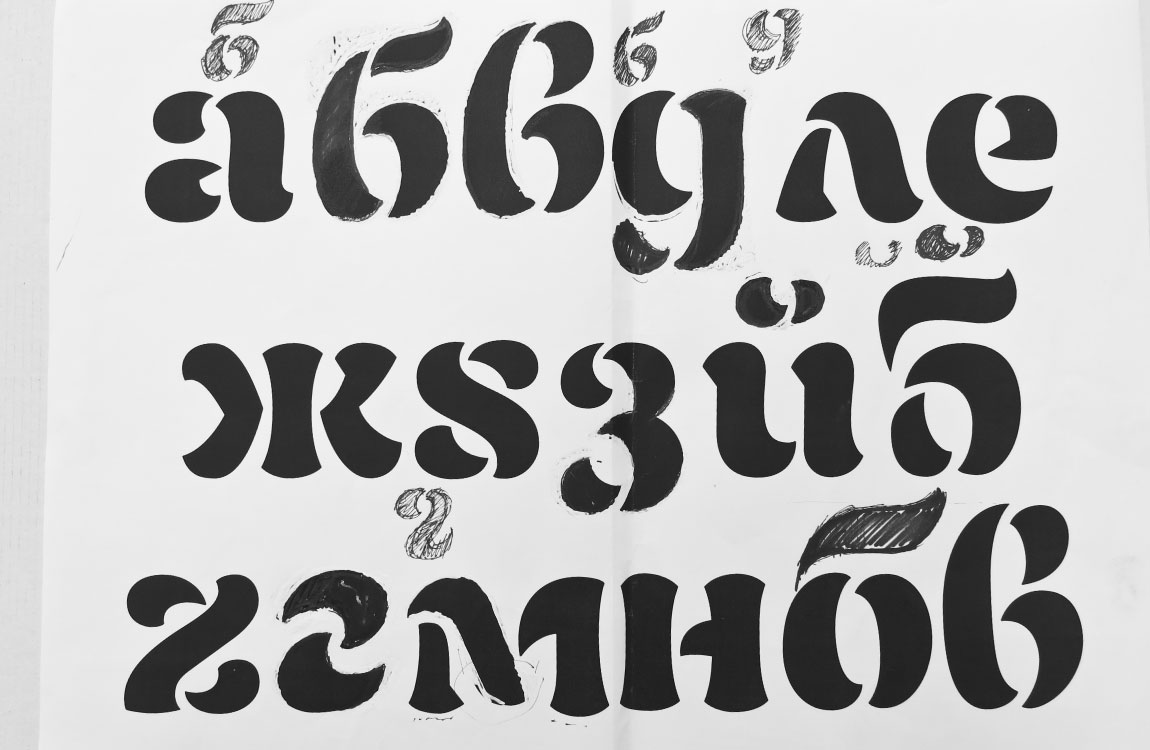
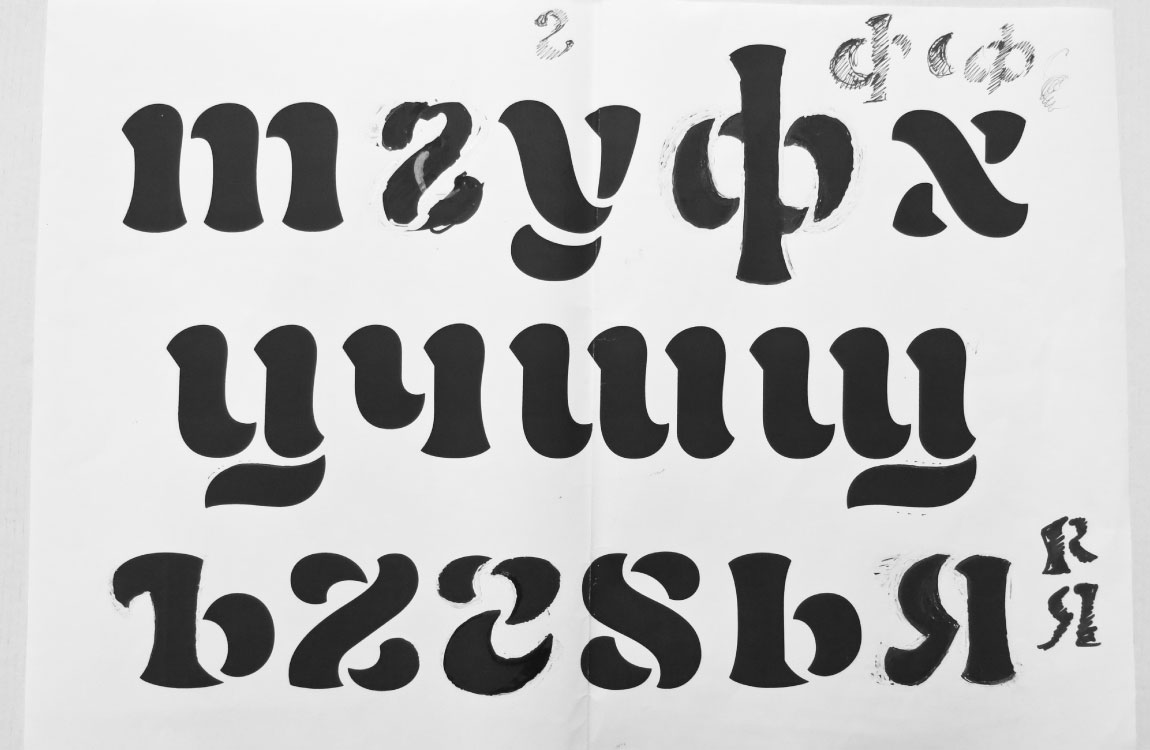
Cyrillics
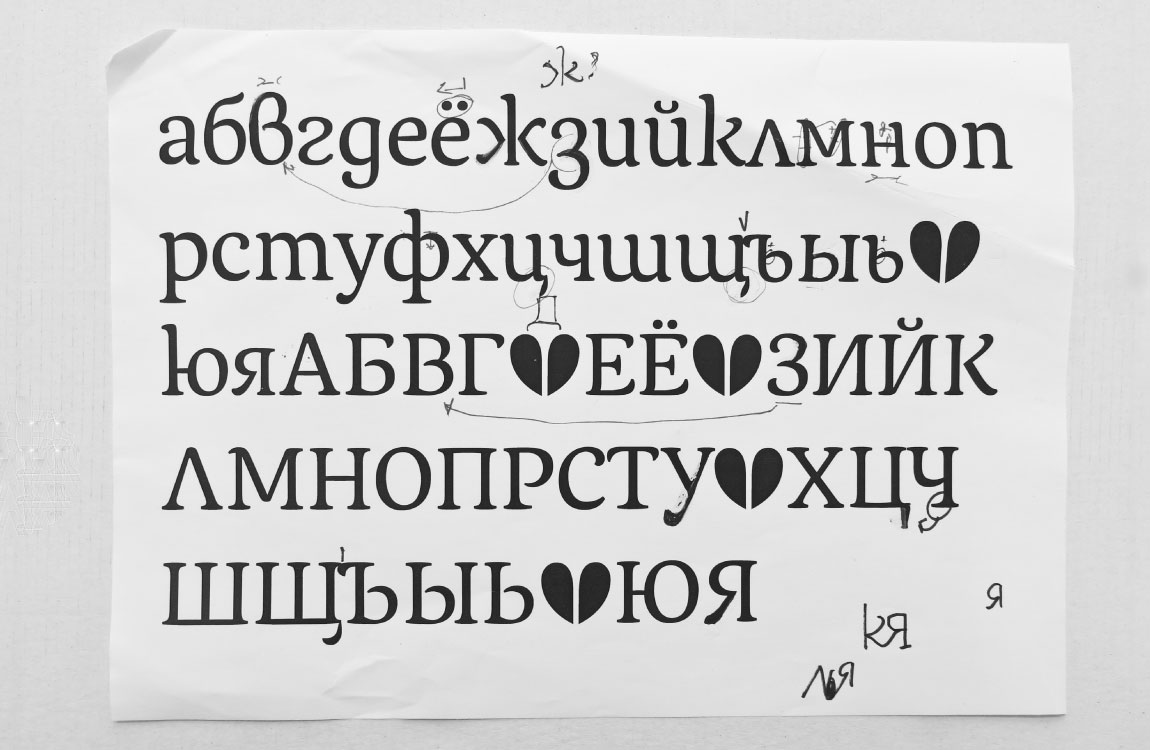
Although my focus for this project was the Latin character set, I got inspired to try how Cyrillic would work in my typeface. During the whole project, while looking for solutions for certain shapes, I would sometimes ask myself: how would that work in Cyrillic? That was helpful in finding a more systematic approach instead of looking for exceptions.
The biggest difficulty was applying the principle of stencil cuts, based on the strokes of the pen, considering that Cyrillic to a large extent has letters that are constructed in a different way from the written form.
This sketches and digitizations are work in progress and they were only the starting point of my journey into the designing the Cyrillics to my type family. I mainly worked on the black style, but I managed to fill some of the character set for the text version too.
To be continued...
Part of being a type designer is about never being satisfied. Typefaces take time to complete and I don’t think that was the point of this project. But what was important for this project was not wether the typeface is finished, but how much I was able to learn through this project from the teachers, from my colleagues and by myself. I embraced the process of thinking by doing: never stop sketching, experimenting, refining. I was able to develop my own workflow and I hope I will have the opportunity to work in the same way in the future. It has been a challenging and rewarding year and I am grateful for this opportunity.